Azure Pipelines and GitHub Actions offer generous compute time for OSS repos PR and CI builds. But when your repo is private, the economics change dramatically. For Azure Pipelines as of the time of this writing, the prices are $40 USD/month per parallel job, with the first 1800 minutes free. GitHub Actions prices are far more complicated and you pay by the minute, with macOS agents being very expensive. So what can you do when you’re developing a closed source project to help keep costs low? Host your own agents!
This post will focus on hosting your own agents on Azure Pipelines. Private agents aren’t always free either (interestingly). In fact, you pay $15 per parallel job for the privilege of providing your own hardware while Azure Pipelines coordinates the work. The first private agent is free. Visual Studio Enterprise subscribers get 16 private parallel jobs allocated at no extra cost.
There’s another potential benefit to hosting your own agents: much faster builds. Some of my 25 minute jobs dropped to just 3-5 minutes by moving to private hardware. This came from a combination of my hardware being faster than the slow machines they offer for free, and because my machines aren’t totally recycled after each job, so prerequisites and caches are left on the machine between jobs, allowing subsequent jobs to do less work.
In the migration to a private agent pool that I just finished, I had agents for all 3 OSs. Your project may not need agents for all 3 OSs though, so feel free to skip to the sections below that are relevant to you. The short pitch though is that although it took a lot of work to figure out how to do it, it isn’t a lot of work to do it. So I hope to save you a bunch of time by giving you the recipes.
Azure Pipelines offers the agent software to install on each of the OSs, and getting the software to run and register itself with your Azure DevOps account as an available agent is the easy part. The tricky part is getting a stable system, where the agents have all the software your pipelines will need, because while Microsoft publishes the list of all software installed on the build agents, you have to install it yourself. Or at least the subset of the software that your pipelines require.
For all private agents, keep in mind the security implications of running builds of arbitrary code. If you trust the code, and you don’t build pull requests from strangers, you may consider waiving the security concerns. This blog post is about my experience setting up agents for a private, trusted code base. I made some decisions that would be very unwise if I were building OSS software that accepted outside pull requests.
While I am pleased to share my hard-learned methods here, I freely admit there is a lot more to learn for better setup on each OS. If you know how to improve on these methods, please comment and I’ll be delighted to update these instructions.
Windows agents
Microsoft published a great doc on running your Windows build agent inside a Windows docker container. In my case however, I wanted my Windows machine to be able to create linux containers, and the docker software for Windows can only be switched between Windows and linux container modes such that you cannot have a mixture of containers of both OSs.
So I opted to use Hyper-V to create a Windows VM on which I would run the agent directly. I used the Quick Start option to create a VM based on the “Development VM” image.
Additional software I installed:
- Rust
- PowerShell on Windows – PowerShell | Microsoft Learn
- Visual Studio, with several workloads including C++ so that rust can find the native toolchain it requires.
- Azure Pipelines build agent
I then had to run the agent interactively so that it ran under the same user account that I installed rust on, so that builds could find the rust toolchain.
I would have preferred to run the agent as a service so that on reboot it automatically starts, but I didn’t know how to get rust to work in that environment.
Linux agents
Microsoft published a great doc on running your Linux build agent inside a Linux docker container. In my setup, I started with these steps and then evolved to enable docker-in-docker so that my pipelines could run cross build (a cargo build step that uses docker containers).
I used Hyper-V’s Quick Create to create an Ubuntu 22 VM on my Windows machine.
I am using a linux container for the build agent, so I didn’t need to install any build tools onto the VM itself. Here is the command I used to install a few useful tools though:
sudo apt install -y openssh-server docker.io net-tools screen
I then configured SSH so I could remote in as needed:
sudo systemctl enable ssh
sudo ufw allow ssh
I also reconfigured SSH to deny password-based authentication, as I prefer the security and convenience of key-based auth: How To Configure SSH Key-Based Authentication on a Linux Server | DigitalOcean
Because Hyper-V Quick Create gave me a tiny (12GB) volume for my VM’s disk, I had to enlarge it. I shut the VM down and deleted the snapshot that Hyper-V automatically created. That allowed me to Edit the .vhdx to be much larger. I then booted the VM and had to run commands documented here to get the file system to expand to fill the enlarged virtual hard drive.
Next comes the magic: docker-in-docker. I intend to run the build agent itself in a docker container. Some build jobs require creating docker containers, which doesn’t work by default. A lot of documentation out there talks about the security risks of enabling docker-in-docker that come from mounting docker.sock from the host into a container, with good reason. But I found another way, courtesy of this excellent article that outlines the options: How To Run Docker In Docker Container [3 Methods Explained] (devopscube.com).
By installing sysbox and slightly adjusting my dockerfile and how I launch it, my build agent container can now spawn child containers, such that the build agent container does not need access to manipulate top-level containers or the rest of the linux VM. After installing sysbox, I specifically:
- Installed
docker.ioonto my build agent docker image viaapt. - Added
--runtime=sysbox-runctodocker runthe command line I use to start the build agent container. - Modified the
entrypointin the dockerfile to rundockerd > /var/log/dockerd.log 2>&1 &before launching the AzPstart.shscript.
You can see the whole recipe with dockerfile and scripts here:
I use the build-and-run.sh script on the linux VM to start one or more linux agent containers.
macOS agents
I bought a relatively new Mac Mini for about $500 on eBay. After a low-level reinstall of the OS to verify there would be no remnants of its prior user, I installed the following software:
- PowerShell – PowerShell | Microsoft Learn
- Rosetta (so that x64 build tools can run) by running this command:
/usr/sbin/softwareupdate --install-rosetta --agree-to-license
I then created a buildagent user account, and within it, I installed:
- rust:
curl --proto '=https' --tlsv1.2 https://sh.rustup.rs -sSf | sh - The Azure Pipelines agent
Finally, I launched the Azure Pipelines build agent software by invoking ~/myagent/run.sh within the buildagent user account.
I wish I could have configured this to automatically restart the agent every time the machine restarted, but I don’t know how to do that. As a result, I have to be careful to not sign buildagent out, and remember to repeat the run.sh command within that account after each restart.
Reconfiguring your pipelines to use your private agents
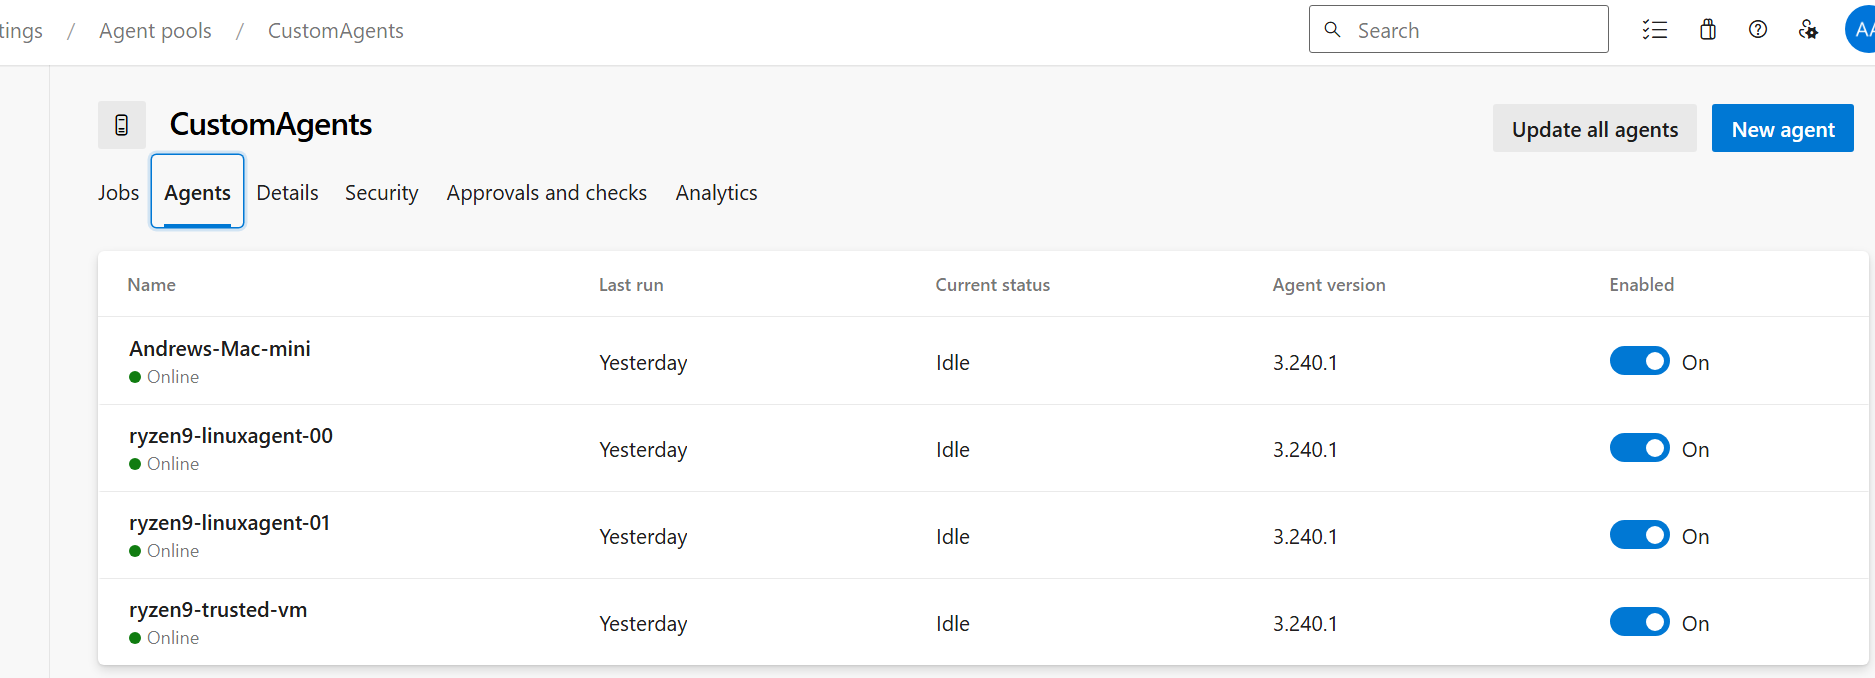
With your private agents running in your new private pool in your Azure DevOps account, it’s time to configure your pipelines to use them instead of the public Hosted pool.
pool:
    name: CustomAgents
    demands:
    - Agent.OS -equals Linux
    - HasDockerAccess
With that, your pipeline (or an individual job on your pipeline) will run on your CustomAgents pool, and in particular on your Linux agent. You can also use Windows_NT or Darwin for your Windows or macOS agents, respectively. The HasDockerAccess demand is unique to linux, and ensures that you get a linux agent from your pool that allows docker-in-docker as described earlier. This may not be important to you, and you might leave it out.
Finally, given that you may have some free public Hosted pool time, you could perhaps save money and hardware by having your pipelines dip into multiple agent pools by having some jobs in your pipeline choose the Hosted pool while other jobs use your private agents. Unfortunately, there is no way for a given job to indicate that they’ll run on either of two queues, whichever is available first.
I found that there were slight disparities between my private agents and the Hosted ones (probably due to differences in installed software) that required a couple slight changes to my pipelines to accommodate, or added software to install on the agent.
Summary
I’m very happy with the money I’m saving by hosting my own build agents instead of paying for Hosted ones for my private git repos. I’m super happy that my pipelines execute much faster as well. My private agents run on some pretty nice hardware in my home. If you didn’t have the hardware before, I expect buying it is a great investment that will pay for itself within a few months in saved monthly Hosted compute costs, but you should do your own math to see what is right for you.
Also keep in mind that while I have Windows and Linux agents running in distinct VMs on the same hardware, this leads to each build job running slower as they compete for the same hardware resources. You may want to scale out with more hardware and spread your build agents out.
And just as a reminder, I’m not an expert in this area. I’m thrilled to have set this up and want to share with others so they can do the same. But no warranties are expressed or implied here. And if you know of improvements that can be made, please comment and I’ll be happy to update this doc to incorporate your suggestions.