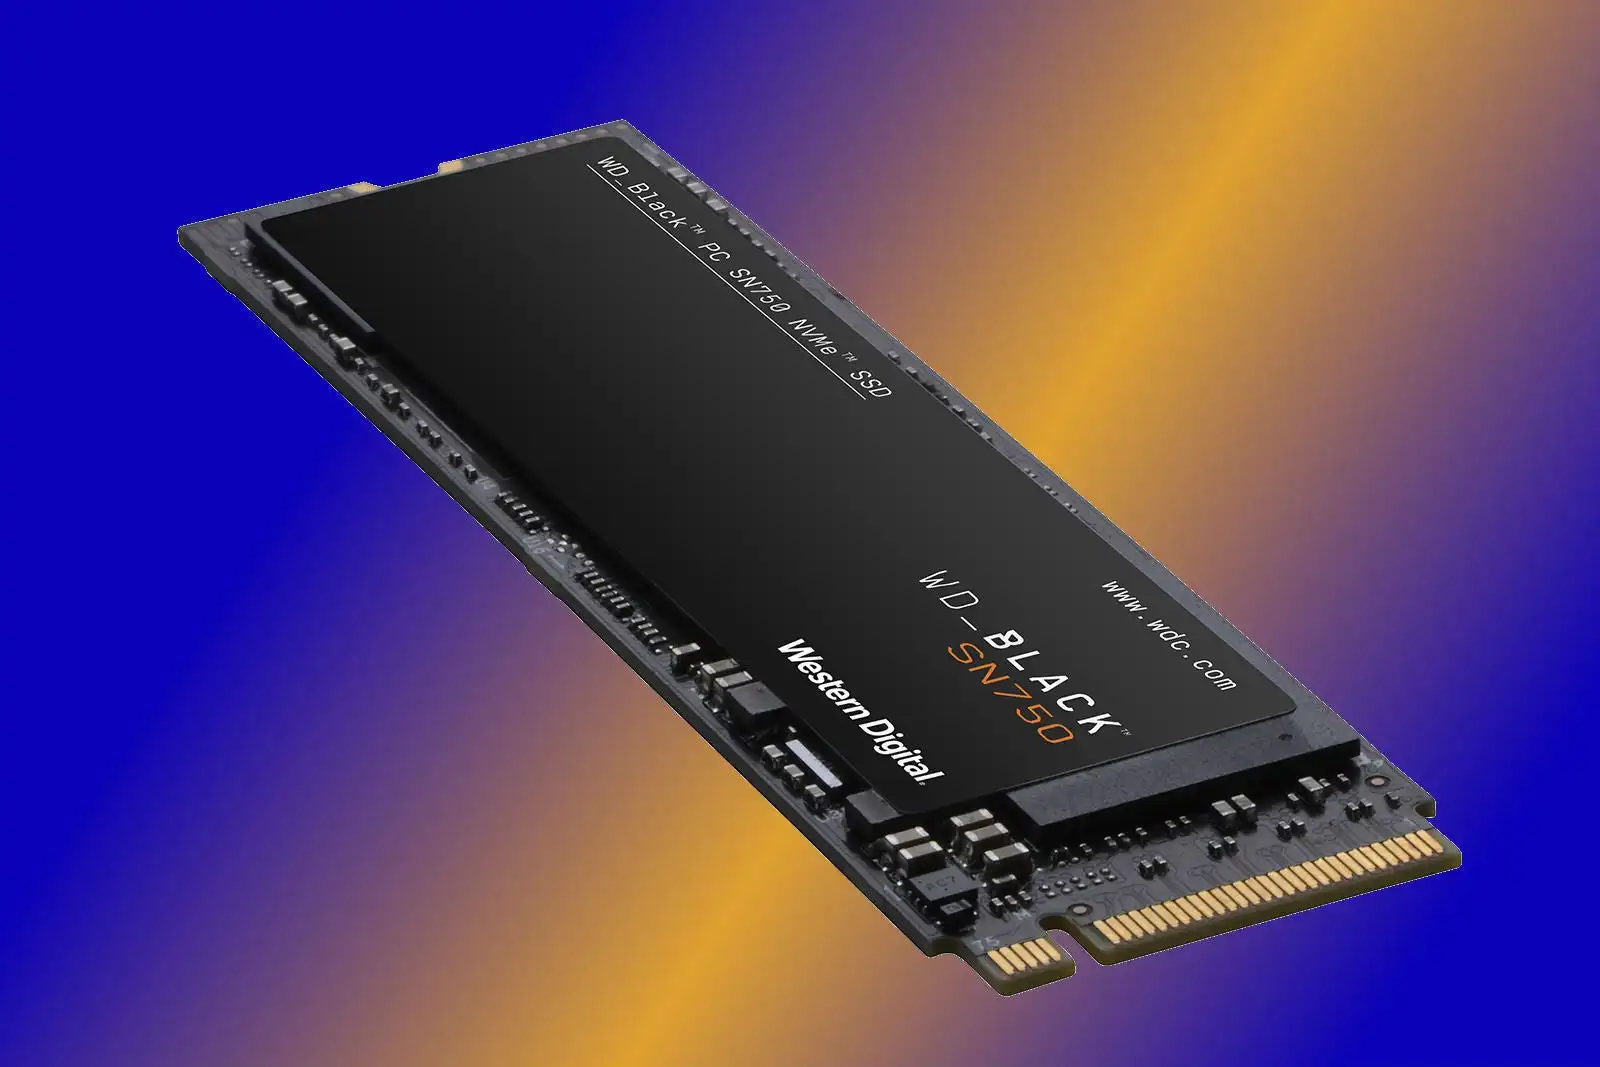
I had a computer with a 1TB NVMe storage device. It wasn’t enough, so I bought a 4TB NVMe device on Amazon Prime Day. I already had an NVMe enclosure and a USB C to USB A converter so I could plug it into my desktop. My goal was to replace the 1TB device with the 4TB device, and leave the OS and all data exactly the same.
It turned out I didn’t need the NVMe enclosure because my motherboard has room for two such devices. I added the new 4TB device to the motherboard and booted Windows from the 1TB device.
Using Macrium Reflect Home (a product you purchase or use within a 30 day trial period), I cloned the 1TB drive to the 4TB drive. I did not partition the 4TB drive first, and instead, I cloned all partitions from the 1TB drive to the 4TB. This seemed prudent because Windows presumably created those other 2-3 partitions for UEFI boot reasons. The one change I made in preparing the clone operation was to slide the last (small) partition all the way to the end of the 4TB drive to give room for the main partition to expand to fill the space. This would give me the full extra TBs of storage on the C: drive in Windows rather than force me to create a D: and move data to it.
The clone operation did not automatically enable bitlocker on the target device either, so after the clone operation completed I applied bitlocker immediately. Even before a reboot. This was probably premature, as you’ll soon see.
Cloning itself was pretty fast, which was great. The clone operation was supposed to leave the target drive in a bootable state. It did not. The rest of this post contains the steps I took to get back into a working condition.
When I used the BIOS to change boot device selection to the 4 TB device, things didn’t go well. I bounced between getting no bootable device found errors and bitlocker recovery screens. It didn’t matter how many times I entered the recovery key, it would ask me for it again.
So I used Macrium Reflect Home to create “Rescue Media” in the form of a USB drive. This booted, found my two NVMe drives, each with Windows on them. It was pretty easy to use this tool, and it was supposed to let me pick which Windows installations to offer at bootup, and select which drive I would then set in the BIOS as the boot media. In theory, that’s great. But I had to run this step 3-4 times before it really worked. And ultimately, it left me with a 4TB Windows boot sequence that demanded I enter the bitlocker recovery key on every reboot.
Suspend/resume bitlocker in Windows didn’t fix it. There was no “Auto-unlock” option offered, presumably because this was the OS drive but I don’t know. In desperation, I removed bitlocker entirely, and rebooted. As expected, no recovery screen challenged the boot up process. So then I tried to re-enable Bitlocker, but I get this weird “The system cannot find the file specified” error each time I tried to start the encryption process.
Luckily Lee Qicheng offered a simple and effective solution to the Bitlocker error message on a Microsoft forum I found through a Bing search. That worked brilliantly, and Bitlocker recommended I reboot to test before encrypting the drive, which I accepted. Rebooting did not challenge me for a recovery key. Yay!
So the last thing I need to do is remove my 1TB NVMe and find some new use for it. I’ll probably use it as a huge USB drive by sliding it into the NVMe enclosure that I already have.
In summary, Macrium Reflect had some tools I needed for the disk cloning. And their software was easy to work with. It’s just a shame that it left me in a broken state that took a few hours to work through before I was in a ready-to-use state again. If I were to do this again, I might try a competing product to see if it does the job right the first time.